How to read DNA
Thursday 23rd Nov 2017, 4.01pm
Reading DNA, the instruction book inside of all our cells, is an important way to learn about what makes us who we are. However, not every research group has the expertise and equipment necessary to do this, which is where the Oxford Genomics Centre come in.
They work primarily with researcher groups at the Wellcome Centre for Human Genetics as well as groups from elsewhere in the University, and even elsewhere in the world!
One of the key methods they use to find the sequence of bases in a given piece of DNA is called ‘Illumina Next Generation Sequencing’. There are four steps to get from a sample to a known sequence.
Step one
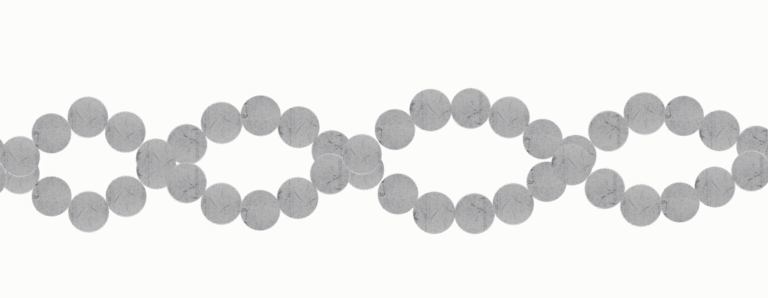
Step one is sample preparation. They take the long DNA strand, which starts off as a double-helix, and they strip the two parts of the helix apart – if you imagine that a double-helix shape is like a ladder which has been twisted, They’ve just pulled the two sides of the ladder apart. The legs of the ladder are the bases, there are four different types, and they want to know the order that they’re in. They then break up one side of the split ladder into smaller pieces (called ‘library’), and then add a specific sequence (called an adapter) to the beginning and end of each of these pieces – that way they know where they begin and end. These adapters also have an important role in the next step.
Step Two
Step two is called Cluster Generation. This is where they make many more copies of each fragment of the library. To do this, they use a ‘lawn’ of adapters (the known sequence we added to the end of each DNA fragments). The adapter they’ve put on one end of each DNA fragment will grab onto one of the adapters on our lawn. So the library is now anchored to the lawn at one end, and sticking up into the air. The DNA fragment will then bend down and attach the adapter on its ‘head’ onto a different nearby adapter on the lawn – making a bridge.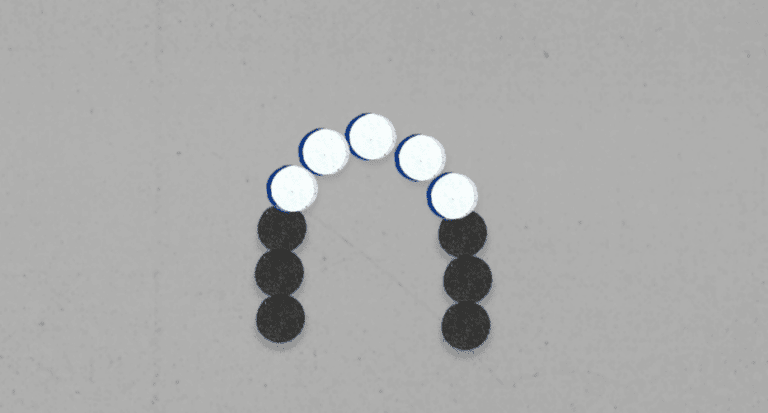
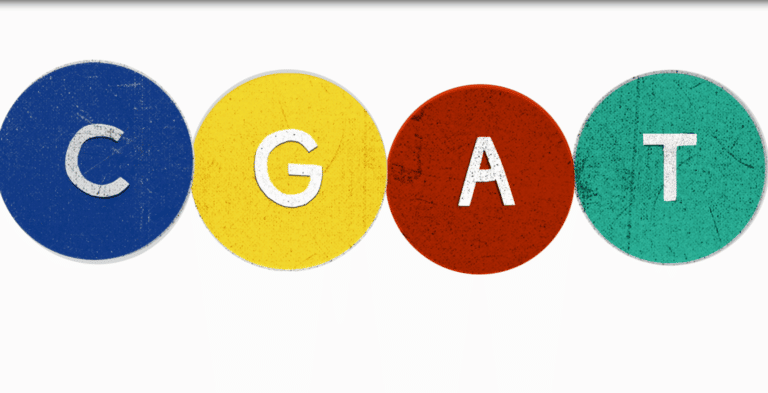
Remember, these bridges are only half of the DNA strand – one side of the ladder shape – so what happens now is that they rebuild the other half. They can do this without knowing the sequence, because the bases are complimentary – the four different types of bases (or ladder steps, in terms of the shape) always pair up. They’ve given these four bases letters, to make it easier to talk about them – so an ‘A’ base always pairs with a ‘T’, and a ‘C’ base always pairs with a ‘G’.
So they now have a double-stranded DNA fragment, bent over like a bridge. They pull apart these strands from each other so that each single-strand can ‘stand up’, and they now have two copies of the DNA fragment sequence when they just started with one. This process happens again and again, millions of times, until they have clusters of copies of the same DNA fragment. They get rid of any that aren’t the ‘right way up’, so they’re left with identical single-strands all standing up in the same area.
Step Three
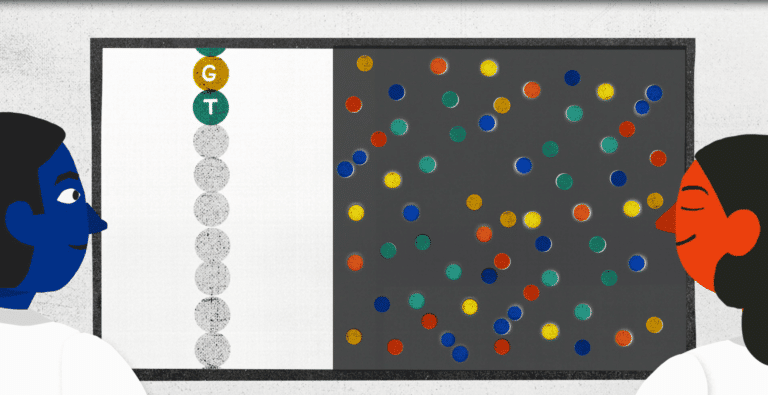
Step three is the sequencing. They flood the area with lots of the four types of bases – A, T, G, and C. But these have been modified so that when they pair up with bases on our short-read they’ll give off a flash of light. So the clusters of single-stranded DNA fragments, that they finished the last step with, get their complimentary bases reattached from top to bottom to turn them back into double-strands – and if it’s an A base attaching onto a T, it gives off a flash of blue; T bases attaching to A bases give off red; G onto C give off green; and C onto G give off yellow. This is all done to every copy of every DNA fragment forming a cluster at the same time so we need to use a high-powered camera, attached to a high-powered computer, to watch this and take note of the order of the colours. This tells them what the order of the bases are in each of these clusters. This process is then repeated, with the single-strands the other way up, to make sure there weren’t any mistakes.
The Final Step
The final step is the data analysis. They know the sequence of the bases for lots of small sections, their short sections, but no real idea what order they should be in. So, they need a clue to start them off – this is when they’ll typically compare the short-reads DNA fragment to a reference genome sequence. For example, let’s say they’re looking to see if there are mutations in a particular gene and we already have a sequence for a ‘correct’ version of the gene, which they’re fairly sure has no glitches in it that could cause any diseases. They now see if we can build a ‘correct’ version of the gene with the pieces we have just sequenced, or if there seem to be some differences.
They also compare these small segments to each other – remember, there’s lots of copies of each of these small sections – but they’re not all the same size. This means that there are overlaps between different short-reads. By lining up the overlap between one short read and another, they can build a picture of the whole sequence and this can help us see where the differences are between their reference sequence and their sample.
The team has used this technology to investigate how cancer appears in our bodies, how malaria is carried by mosquitoes, how diabetes works, and even how people throughout history moved from place to place– and that’s just the groups in our building! They’ve also helped other researchers by sequencing strawberries, penguins, stick insects, and viruses!
The technology they use to sequence DNA is constantly evolving and improving, and they’re excited to see what the future will bring.
Contact us about the following teaching resources:
KS4: Genetic Counselling
KS4: Testing Your DNA
KS5: Genotyping